Surviving the archive: 3 things I have learned so far

This summer, I did research in a few different archives in the New York and Washington, DC metro areas. As fall approaches and I get ready for my next phase of research in the US Southwest, I thought I would take stock here not of my findings, but of the archival process.

As you may have guessed from my last post on archive tech, I am determined to make archival research as painless and efficient as possible.

Why painless? In fact, what we do in the archive, aided by modern technology, is actually very taxing on the back, neck, and shoulders. We may be taking dozens of downward-facing pictures and typing thousands of words while transcribing documents, all while sitting in uncomfortable chairs for hours on end.

I strive for efficiency in the archive because I am working in archives far from my home in New York City. Every day I am out of town is expensive, so while I am on research trips, I want to see and captures as many documents as I can.

I have found that these three strategies have helped me find a balance between comfort and efficiency.

  1. Photograph documents selectively and in manageable batches, punctuated by time sitting and reading.
  2. Take frequent breaks.
  3. Admit that archival work is hard and allow for that fact when planning research trips.

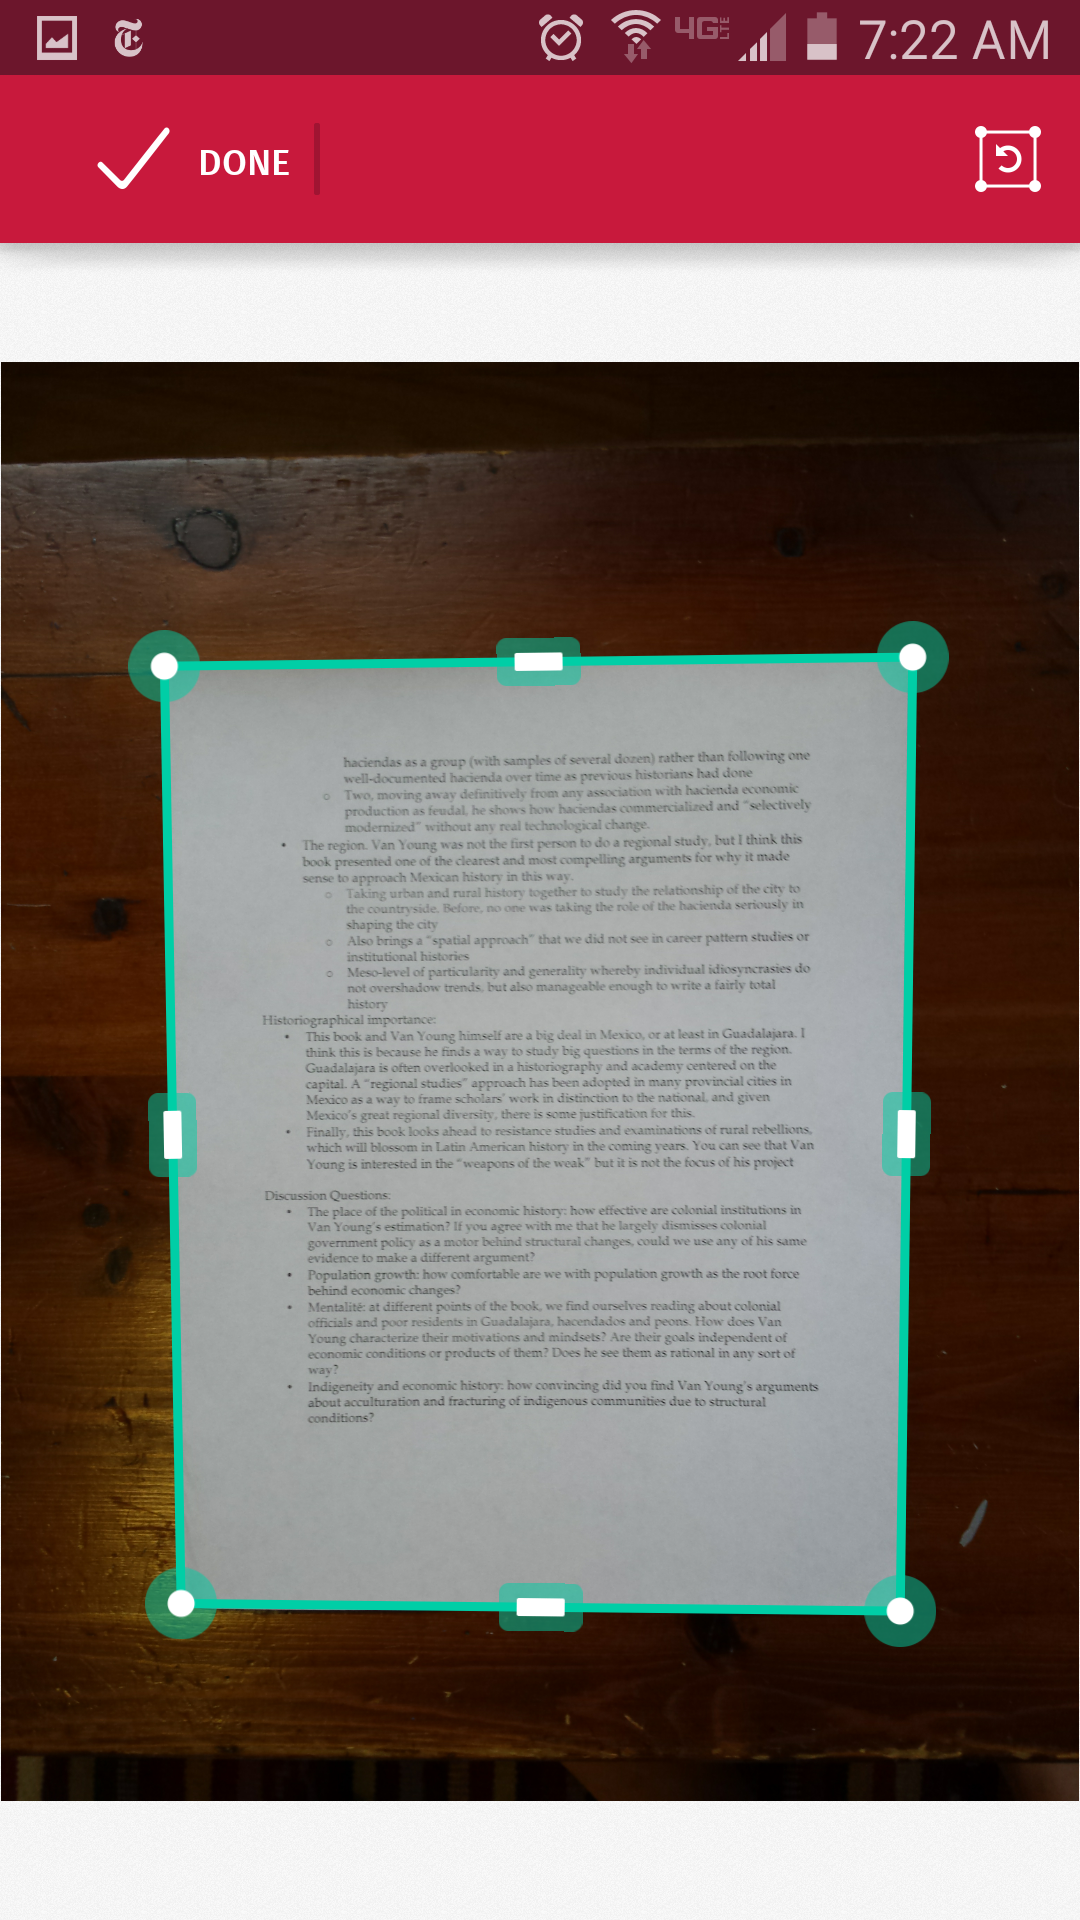
I take pictures in short sessions after reviewing an entire folder. As I look through the documents in a folder, I offset the ones I want to photograph (you can also use bookmarks, but I prefer offsetting). This approach also does not seem to bother archivists and does not require you to remove any documents from the folder.

The white page is placed slightly higher in the folder so that when I go back to take pictures, I can easily see which documents I have selected.
One page is placed slightly higher in the folder so that when I go back to take pictures, I can easily see that I have selected and want to photograph that documents.

After I have read through the whole folder, I set up Scanbot and take pictures of the documents I have chosen. Sometimes I decide not to photograph something I selected earlier–I realize it is a draft and I need only the final version, or it simply doesn’t seem important anymore after reviewing the whole folder.

When available, a tripod helps a lot: it is faster, more comfortable, and results in better pictures.

naratripod
National Archives II in College Park, Maryland has smartphone tripods to lend to researchers, and they are fantastic.

These ideas may seem rather obvious, but I began my research simply photographing documents as I read them. I would end up standing up for long periods of time, with my camera in hand, and reading through documents while still standing. This hurts!

By contrast, my new strategy minimizes the time that I spend standing up and looking down. I do all of the reading and choosing while seated. I take fewer photographs overall since I give myself a second chance to winnow. Another benefit of this strategy is that I alternate between sitting and standing as I first read through and then stand to photograph various folders.

But I also try to get up from the desk quite frequently: ideally, at least once every hour and a half. Before, trying to go as quickly as possible, I would give myself a single break during the archive work day–lunch.

I have found that I am more comfortable and can keep my energy up during the day if I get up more often than that. Sometimes all I do is get a drink of water. Other times I go have a coffee or snack.

Sure, I lose a few minutes when I could have potentially photographed documents. But what I have realized this summer is that I can’t actually just sit, read, and photograph documents for an 8-hour workday with a only brief lunchtime “refueling.”

Working in the archive is hard. Beyond the physically difficult aspects, it demands real mental work, too. The decisions I make about which documents to photograph and which ones to skip are also decisions about what matters in my research project. The archival process forces me to continually reevaluate the research questions I want to answer and the kinds of evidence I will use to do so. This is good, but it is not easy.

And while I know some scholars relish the solitude of the archive, I am an extroverted person who loves to read and research but also to share ideas with others. There are fewer opportunities for social interaction in the archive. For me, archival research takes more grit than I need to get through a day on my home campus.

Knowing this, I plan trips accordingly, looking for ways to make my time when I am not in the archive a little easier. So far, this has meant choosing places to stay that let me avoid a long commute to the archive, or finding lodging in a fun location where I can take walks through beautiful neighborhoods or try new food.

Next week, I head to Texas to do research at UT Austin. I plan to continue using these strategies, but I am sure I will develop new ones, too. Please share your tips in the comments section below!

Advertisement

Tech Review: Using Scanbot to Photograph Documents in the Archive

I’ve been doing quite a bit of archival research since June. While digital cameras have made it much easier to create exact copies of the documents we see in the archive, managing those photos can be a challenge.

I decided that before I began amassing a lot of photographs that I would be using for the next few years, I would find a better way to capture the documents I saw. I opted for the app Scanbot 3.8 and paid $5 for the Pro version. Since June, I’ve used it in six different archives on all types of documents.

While it is not perfect for all the historian’s needs, and there are some circumstances when it isn’t the best tool, Scanbot is now my first choice for archival photographing. The main reason is that it lets me organize my photographs and save them in an easy-to-use, easy to find format, right as I am taking the pictures.

Scanbot turns your smartphone into a scanner. You hold the phone over the document, and it uses the phone’s camera to detect a document below. Based on what the phone sees, it draws a teal-colored rectangle around the edges of the document, more or less accurately.

Once it has detected the document and focused–both happen automatically–Scanbot takes a picture of the document. You don’t actually have to press a button to take the picture.

Scanbot also crops around what it thinks are the edges of the document. If you don’t like the way it was cropped, you can manually adjust the rectangle on the raw photograph.

scanbot_good_crop
This shows the results of a successful auto-crop: the rectangle matches the edges of the page. The actual image saved wouldn’t include the table underneath.

You add more pictures to the file by repeating this process: swipe left to return to the camera, and take another picture of the next document.

When you are finished, Scanbot will save the series of cropped images as a PDF and upload it to the folder you want in the cloud service of your choice and, if you’ve paid for the Pro version, the PDF will be named as you designate. My file names have the name of the archive, the box number, and the file number, and a short tag suggesting what the document is.

scanbot_file_naming
Scanbot also offers “variables” to automatically name files based on the date and time.

The app works best for capturing a flat document sitting on top of a surface in a contrasting color. Sometimes in the archive, those conditions are easy to achieve. But in many cases, we are not working with a clean piece of white paper on a dark wood desk, but rather with a messy stack of brown pages inside a brown folder.

In that situation, Scanbot still works, it just takes longer to detect the document and capture the image, and you need to fix the crop job more often.

When I was photographing a white page on a stack of other white pages in a white folder, Scanbot had trouble. The rectangle shows its bad guess of where the document actually was. But it's easy to fix this by re-aligning the sides of the rectangle with the document.
When I was photographing a white page on a stack of other pages in a white folder, Scanbot had trouble. The rectangle shows its bad guess of where the document actually was. But it’s easy to fix this by re-aligning the sides of the rectangle with the document.

When photographing pages in bound volumes or even long pamphlets that do not lie flat, I would not recommend using Scanbot at all. Scanbot sees curves, and not the straight lines that it uses to find the document. The app then struggles to detect the page, frantically flashing the alternating messages “Don’t move” and “Move closer.” Particularly frustrating (and also a little funny) is the error message “No document” that appears above, well, the document you are trying to photograph. For any bound materials, the point-and-shoot will be much faster than Scanbot.

Scanbot uses a lot of battery charge. You will need to bring your phone’s charger, or better yet, a spare battery and spare battery charger, to use it for a full day in the archive. I would recommend that you turn off the OCR feature (it makes the document upload too slowly) and frequently confirm that documents are actually uploading to the cloud.

Scanbot wasn’t designed for historians in the archive, and I am not ready to abandon my real camera completely. But it is about the same speed as using a regular camera thanks to the automated features. And since it is not costing me time in the archive, the other benefits of Scanbot are hard for me to pass up. It saves me from the tedious tasks of transferring images from an SD card to the computer, putting them in the appropriate folders, rotating them, and combining the images into PDFs. I suspect that the process of re-reading my materials, and writing the dissertation, will be just a little easier because of Scanbot.